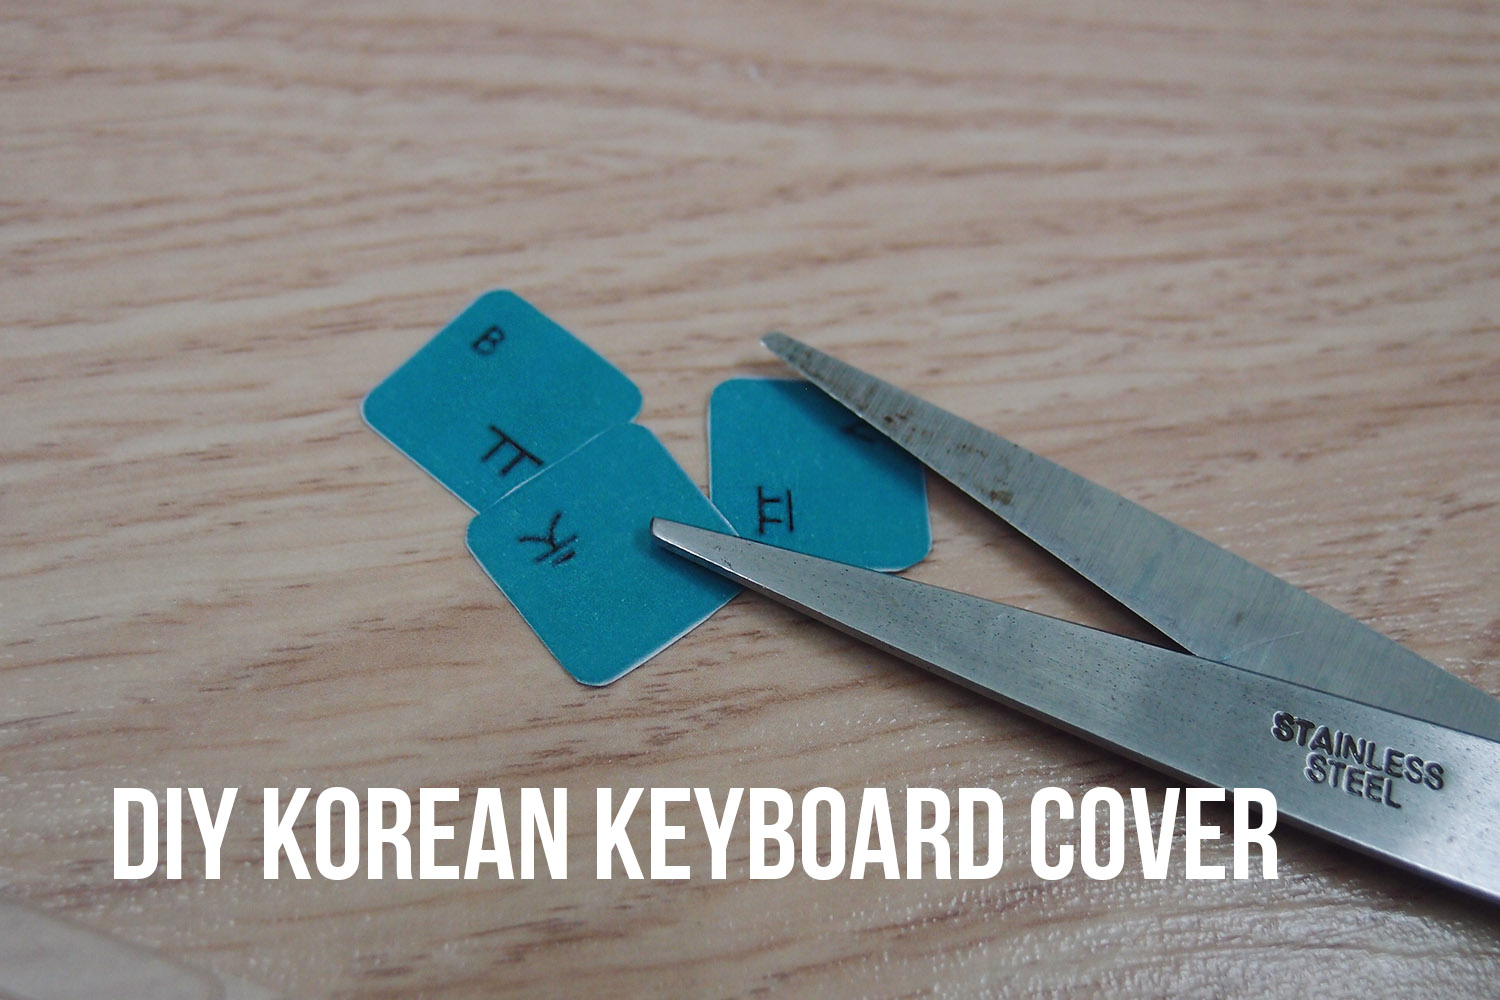
As most of you know (or maybe you don’t, but who is even checking) I have had a slight obsession with Korean things. From food to makeup to beauty products to the language. Anyway, I have been wanting to learn Korean for a while but put it off mainly because I didn’t know when I was ever going to speak Korean. But low and behold, I met Jae and so I finally found a purpose for learning Korean. To cut a long story short, I learned the alphabets and am now able to read hangul, albeit my Korean is still shitty.
When I went to Korea earlier this year in May, I wanted to get a Korean keyboard but somehow along the way, I couldn’t find a suitable one and stupid ol’ me didn’t think to get the keyboard cover from the Apple store in Seoul. I know, I’m an idiot. So for months, I would only use my phone to type hangul. Until now.
I was looking to buy a Korean keyboard cover online but the ones I found were too expensive. After doing a bit of research, I stumbled upon Sweet and Tasty’s blog post about Korean keyboards. I have been following her on YouTube but never bothered to read her blog. She created a template according to a Mac keyboard, and after looking at it, I had a lightbulb moment. I could make my own cover!
So, if you’d like to know how, follow the steps below.
Materials:
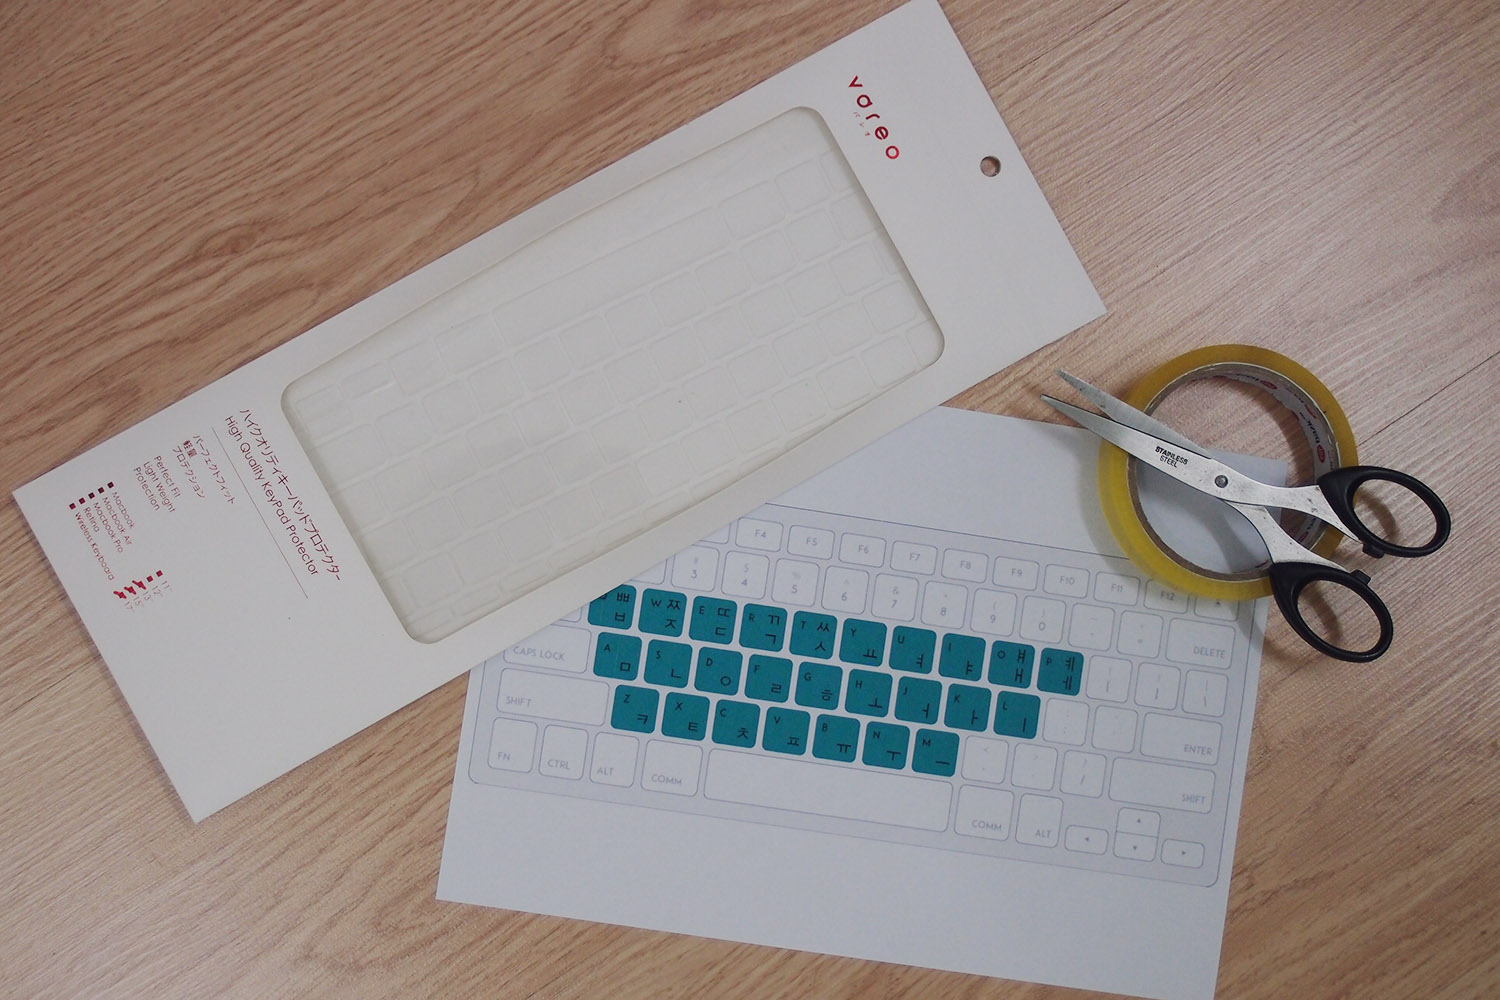
- Clear keyboard cover (got mine from Vareo)
- Keyboard template – Mac (got it here)
- Sellotape
- Double-sided tape
- Scissors
Steps:
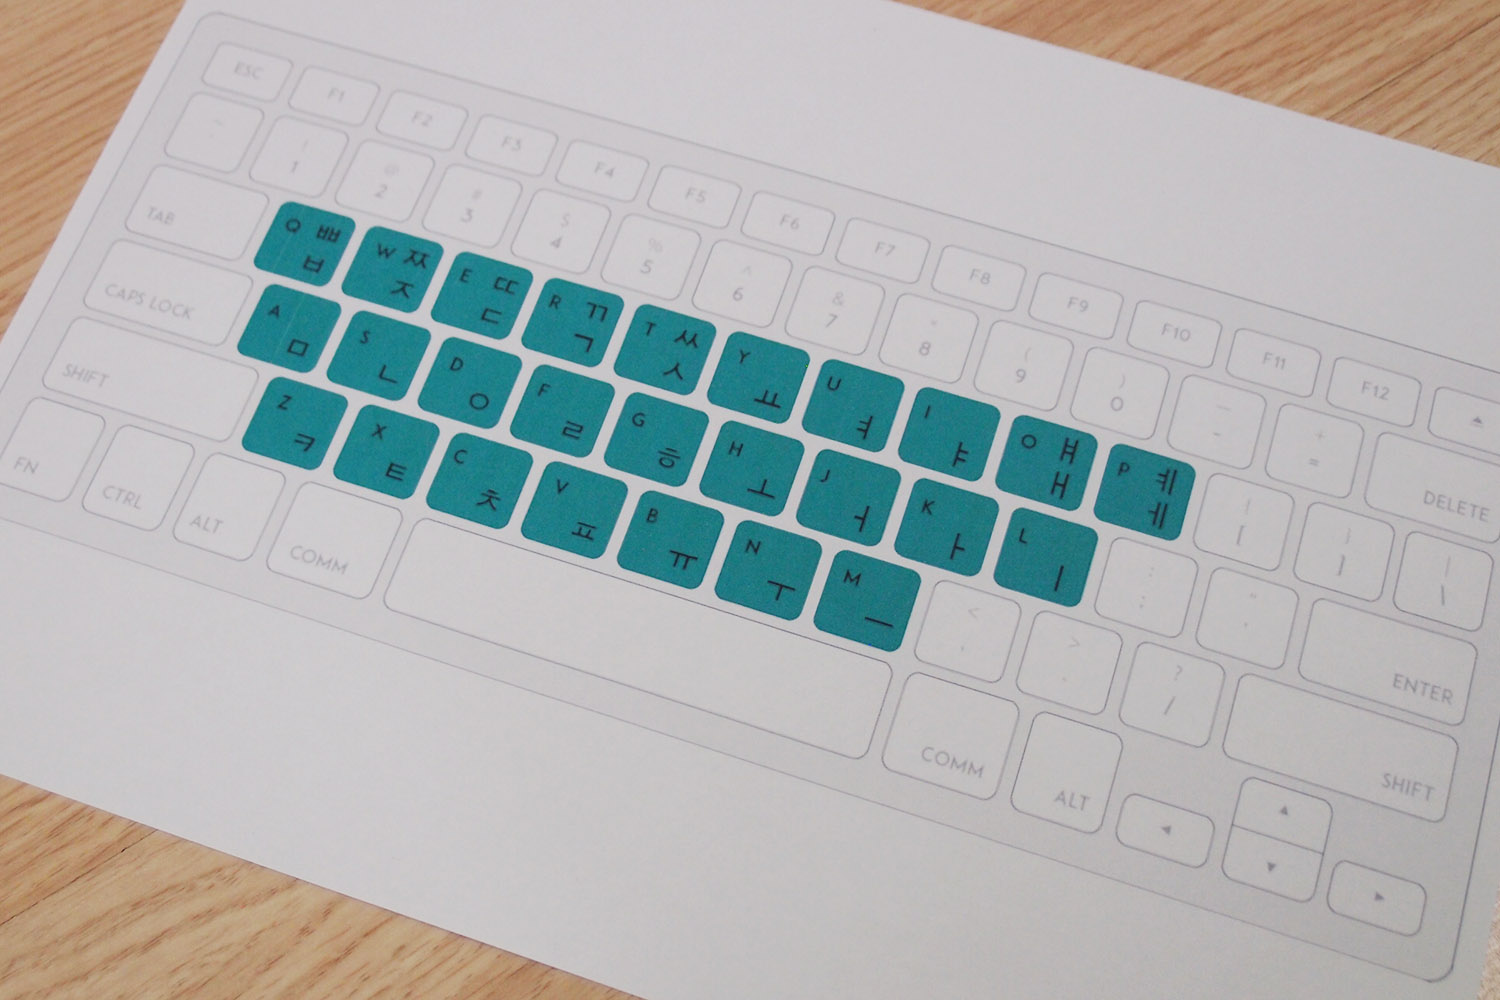
1. Print out the template. Again, this template is made for Macs and you can find it here.
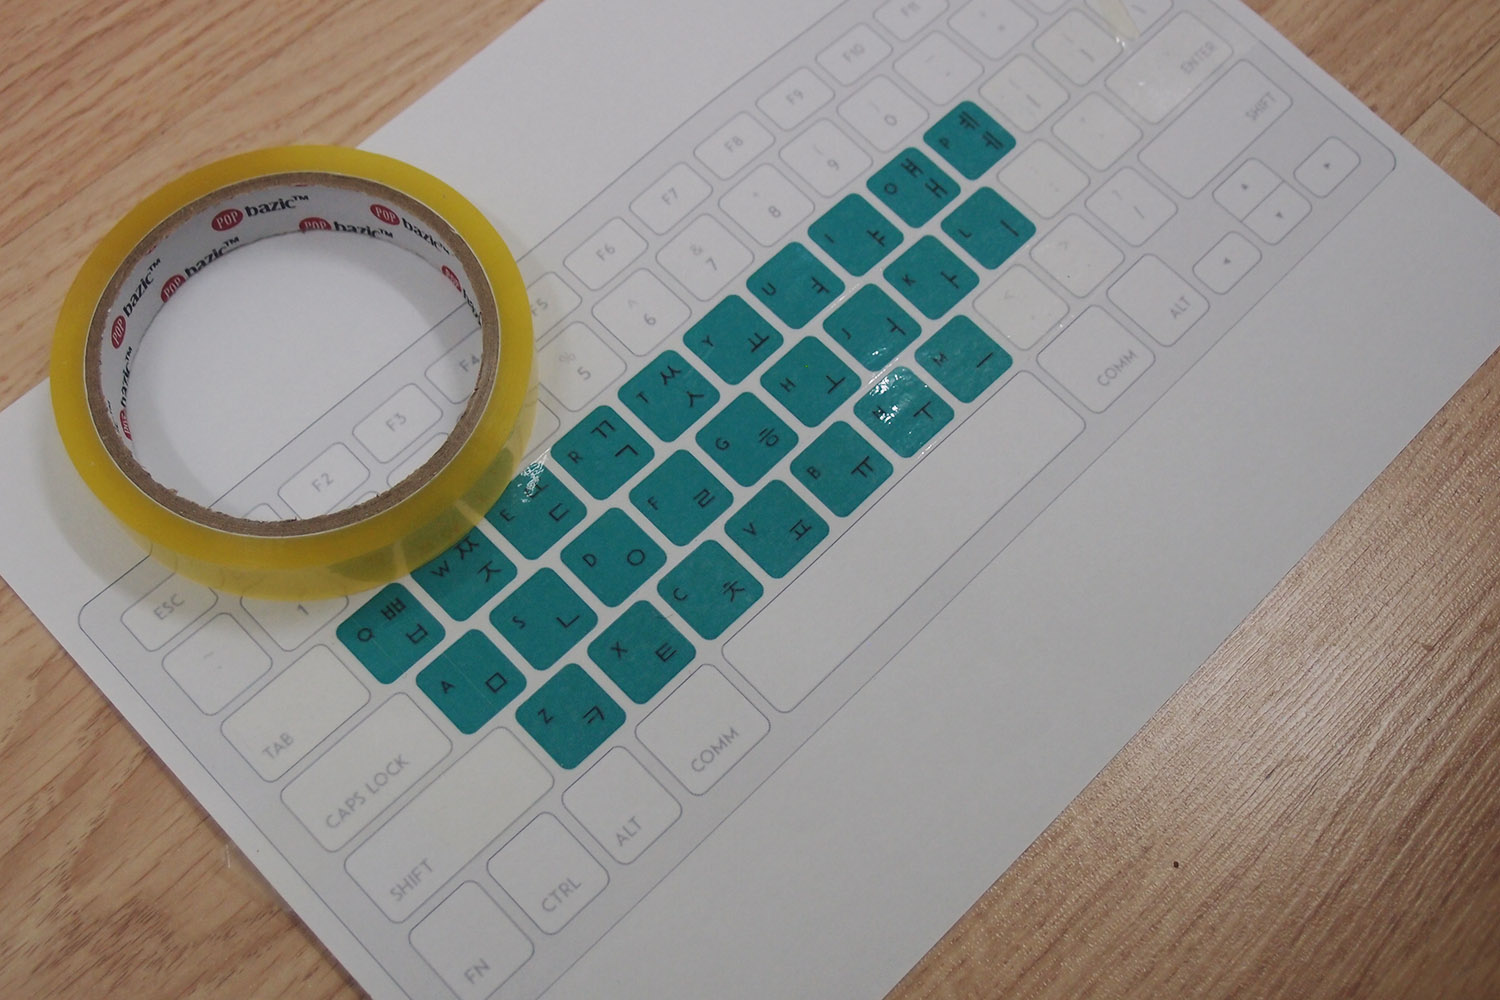
2. To strengthen the paper, stick sellotape on the keys both front and back.
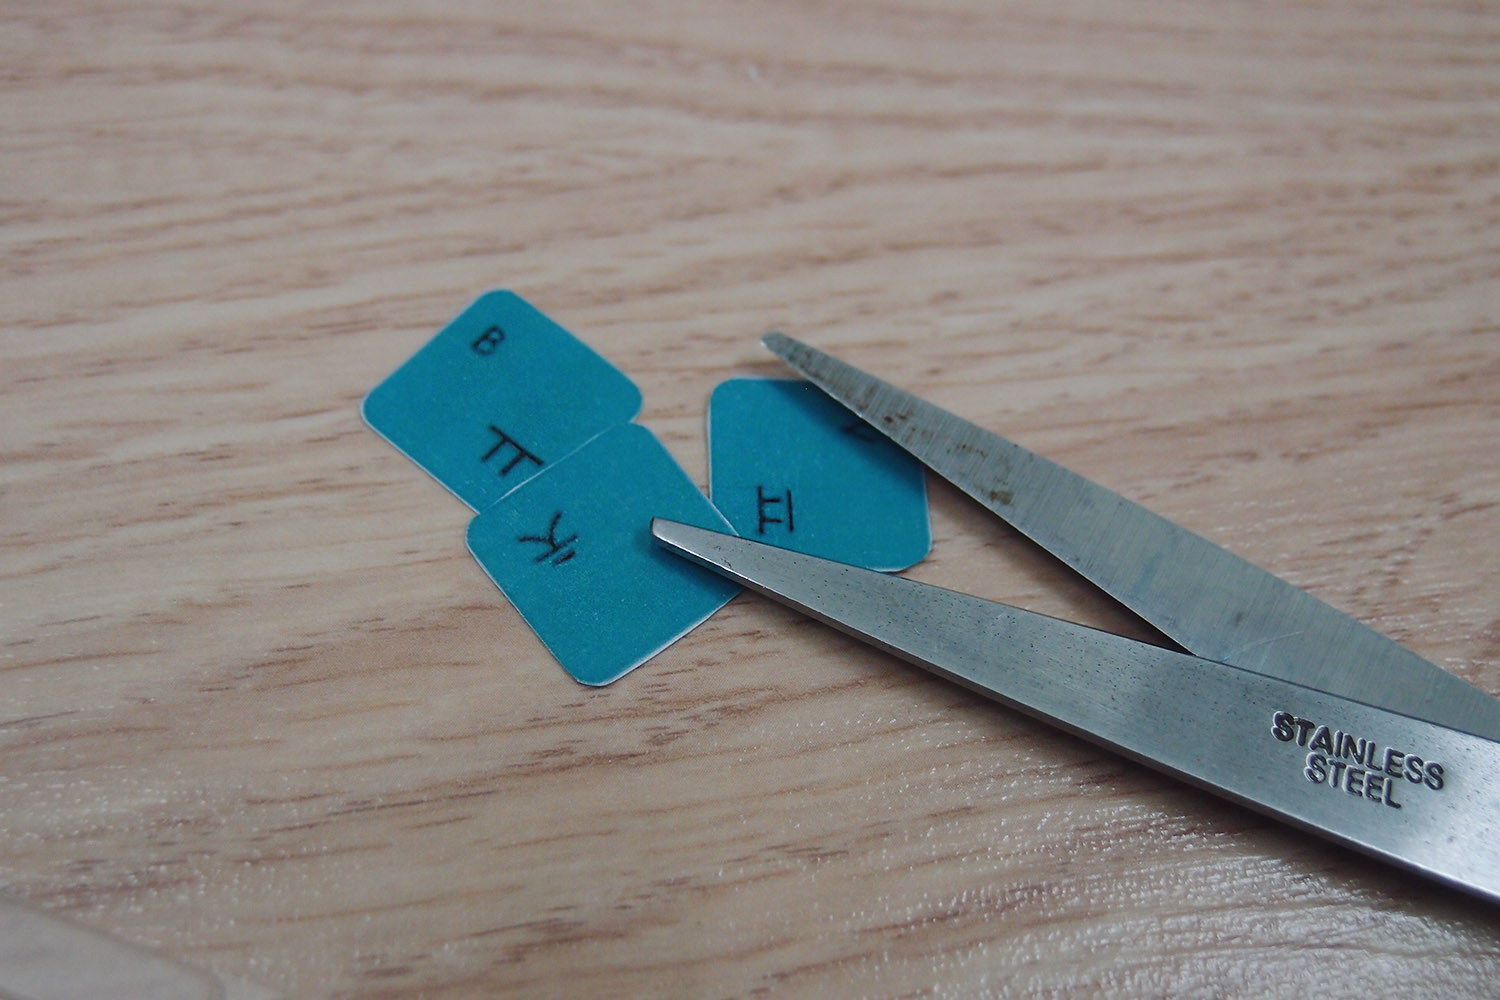
3. Cut out each key to the size of the keyboard cover. To make your life less complicated, get the proper keyboard cover and template that suits your computer. If you use a Mac, the template above is for you, otherwise, you will have to search for it online.
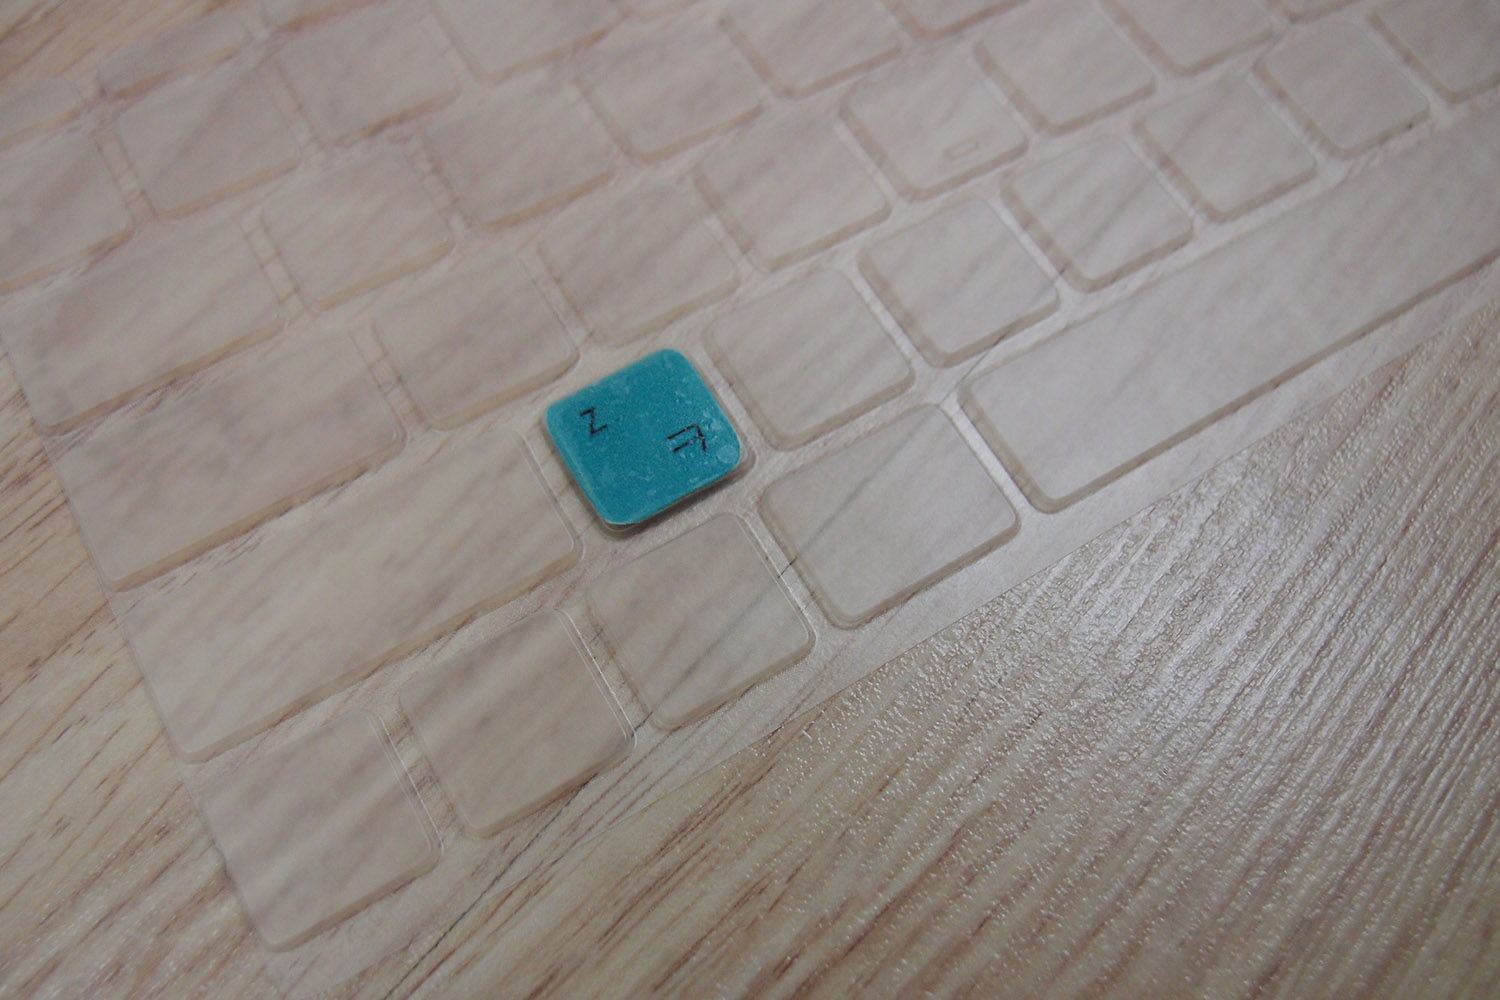
4. Paste double-sided tape face-side up and trim off excess.
5. Stick each alphabet in order onto the inside of the keyboard cover. And you’re done!
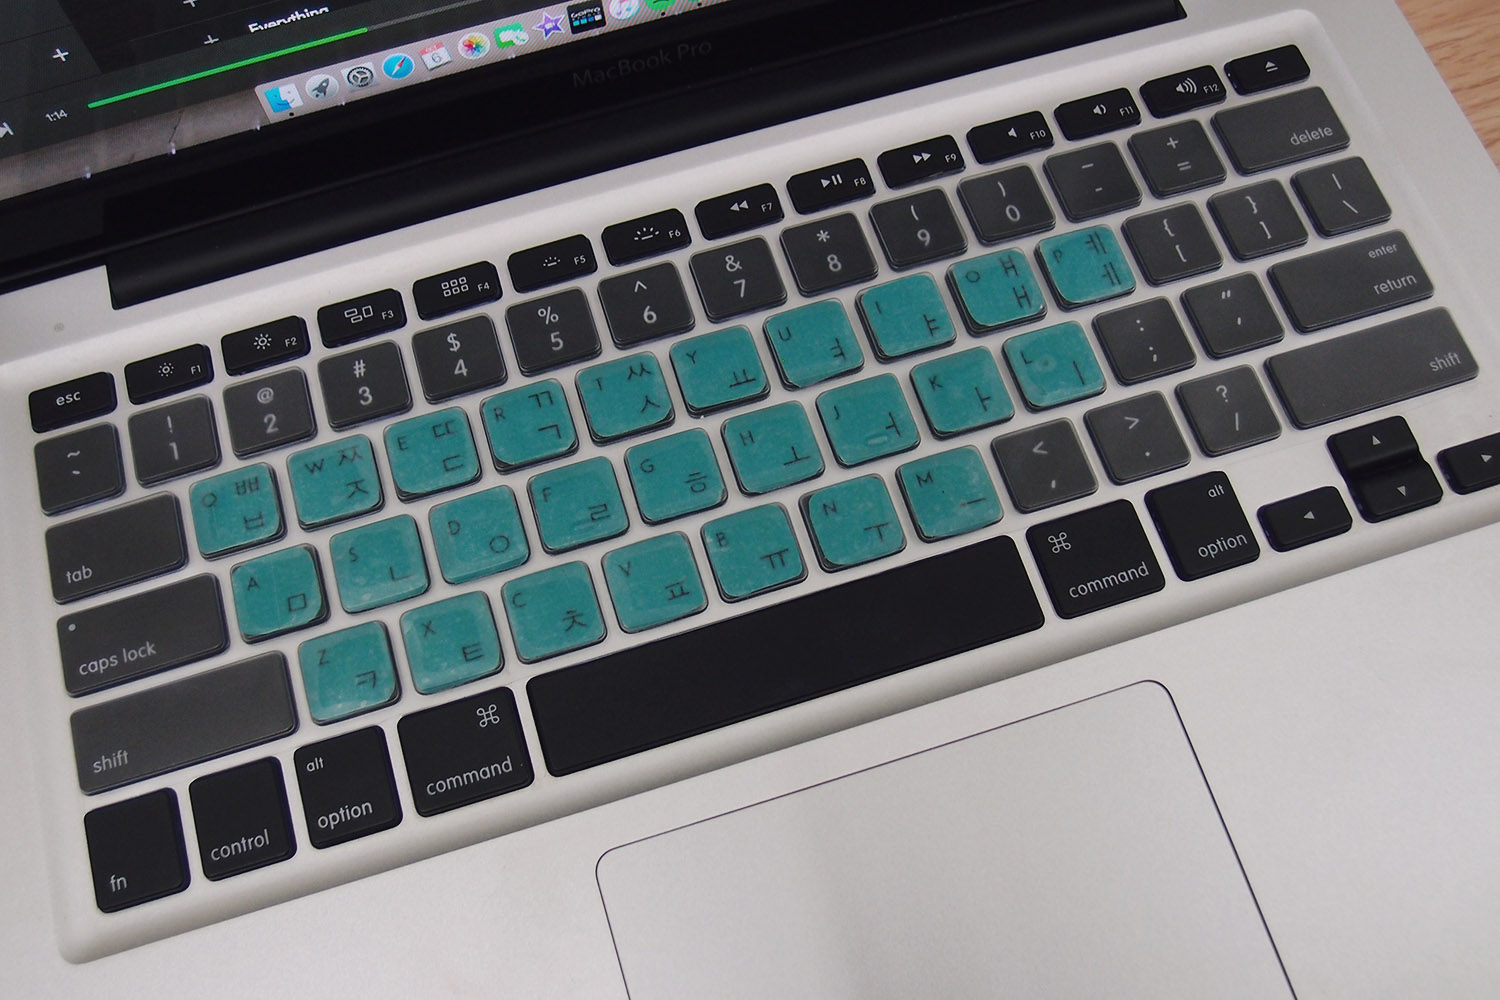
As you can see, it’s pretty simple but it can be time consuming if you want it to look perfect. I think the aesthetics isn’t as important as functionality – mine looks decent but of course, it’s not the best looking cover. I do like the fact that I put in a bit of effort to do some DIY because it was quite therapeutic and it helped me appreciate the fact that I can now type in Korean on my Mac. If, however, you are quite anal about it, you can order a Korean keyboard cover online but you should be willing to pay up for shipping as most keyboard covers and keyboards are shipped from Korea. Don’t say I didn’t warn ya!
If you’re not into Korean, I’m sure this method works for any other language. Depending on whether you can find the template online, doing this is much cheaper than buying a keyboard cover with foreign alphabets for sure.
One last tip for all you Mac users. If you don’t know how to turn the Korean keyboard on then just follow the steps below:
- Go to System Preference.
- Click on Language & Region.
- Click on Keyboard Preference and press the ‘+’ button.
- Select Korean. There are a few different Korean keyboards to choose from. Pick 2-Set Korean as this is the most commonly used keyboard and the template above follows this format.
- And you’re done!
I hope you find this useful as I have been trying to solve this problem for months and I finally did it. If you enjoy these kinds of DIY, do let me know so maybe I can plan some more in the future although I have to admit that I’m not very good at them. You should have seen my woodwork for school last time. Utterly disgusting – HAHAHA!
Till next time!
x
